A Beginner's Guide to Landscape Photography in the Scottish Highlands
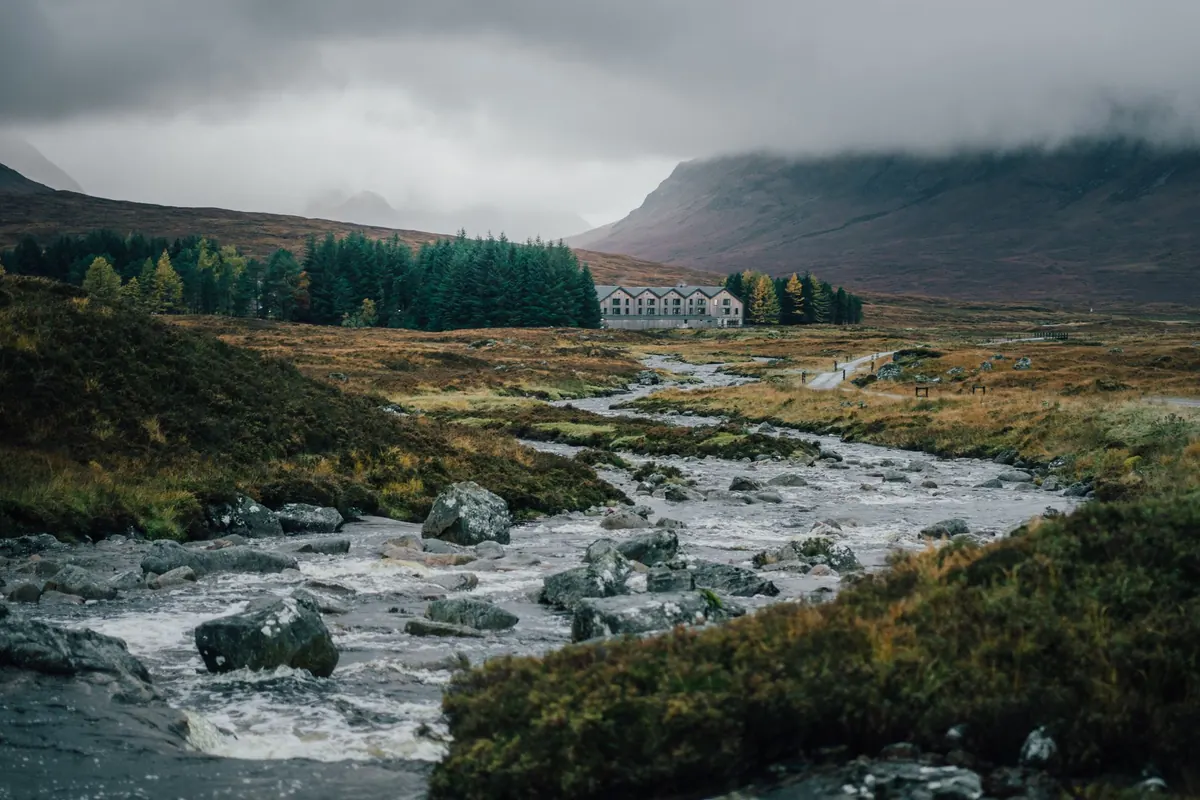
Glencoe in January gives you roughly seven hours of usable daylight, and four of them might be horizontal rain. That is not a reason to leave the camera in the bag. It is the reason Highland photographs look the way they do: soft, layered, a little moody, with light that arrives sideways and vanishes before you have tightened the tripod plate. This guide is for someone with a camera, a decent coat and a first trip north of Glasgow planned. Nothing here needs specialist gear.
Read the light before you read your settings
Highland light behaves differently from light further south. From October through March the sun sits low all day, so it rakes across ridges rather than blasting down on them. That side-lighting gives texture to rock and heather, and it keeps contrast manageable even at midday, which is why winter is such a productive season here.
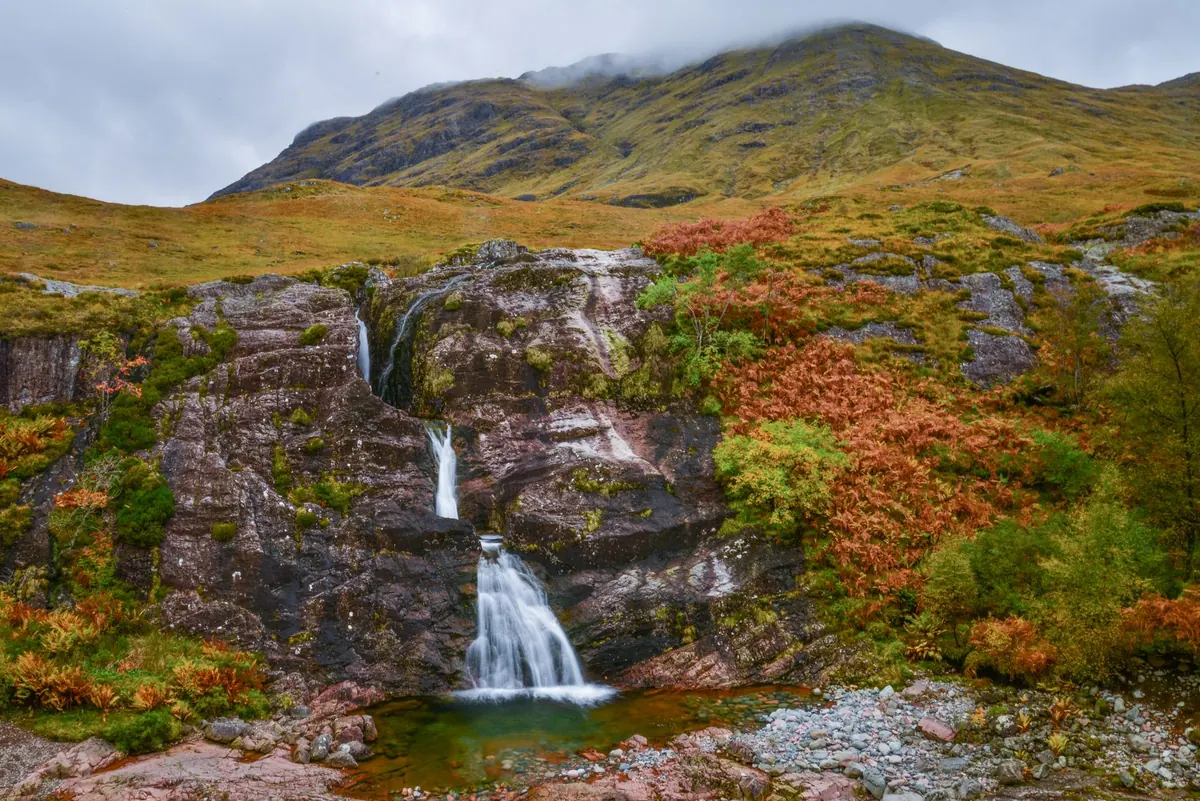
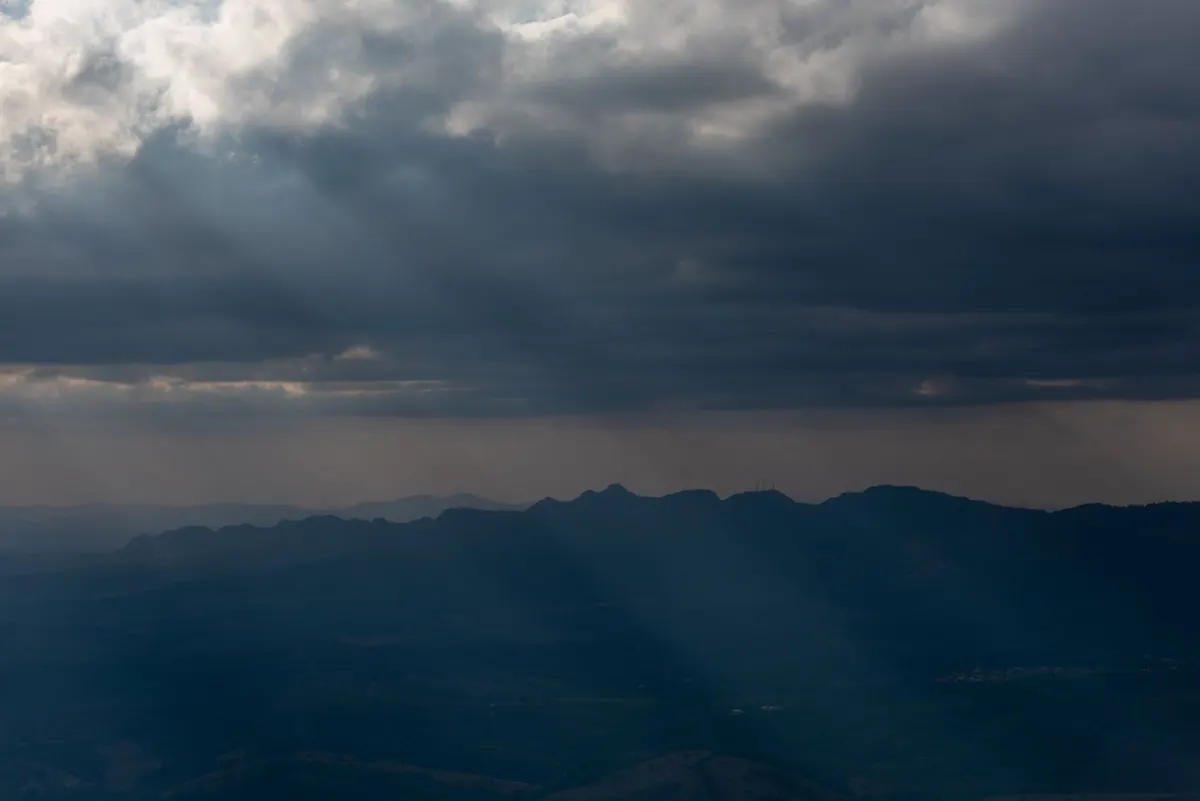
Cloud is your other tool. A flat grey day is poor for wide mountain vistas but excellent for waterfalls, woodland, moss and wet stone, because the whole scene is lit evenly. The frames you will remember usually come from the gaps: ten minutes of sun on a ridge with black cloud behind it, or a rainbow over a loch after a squall. Look behind you as often as you look ahead. A great deal of Highland weather arrives from the west while you are facing east.
Settings that hold up in wind and rain
Exposure
- Shoot in aperture priority at f/8 to f/11 for most scenes. Go to f/16 only when you genuinely need front-to-back sharpness.
- Use your camera's base ISO, usually 100, when the tripod is out. Raise it to 400–800 if you are hand-holding in wind.
- Shoot RAW. Highland skies and dark hills need the extra editing room.
- Judge exposure from the histogram, not the back screen. Bright overcast skies pull the meter down and leave your foreground black. Dial in -0.3 to -1 EV to protect the sky, then lift the shadows later.
- Bracket when you are unsure and blend afterwards.
Shutter speed
Burning water and moving grass are two different problems. For silky water, somewhere between a quarter of a second and two seconds works well; for freezing spray off a fall, go to 1/125 or faster. Wind is the harder one, because heather, birch and bracken blur at speeds that feel safe. If you want the scene still, keep it at 1/60 or quicker. Otherwise, use a slow shutter deliberately and let the movement become part of the picture.
Focus and filters
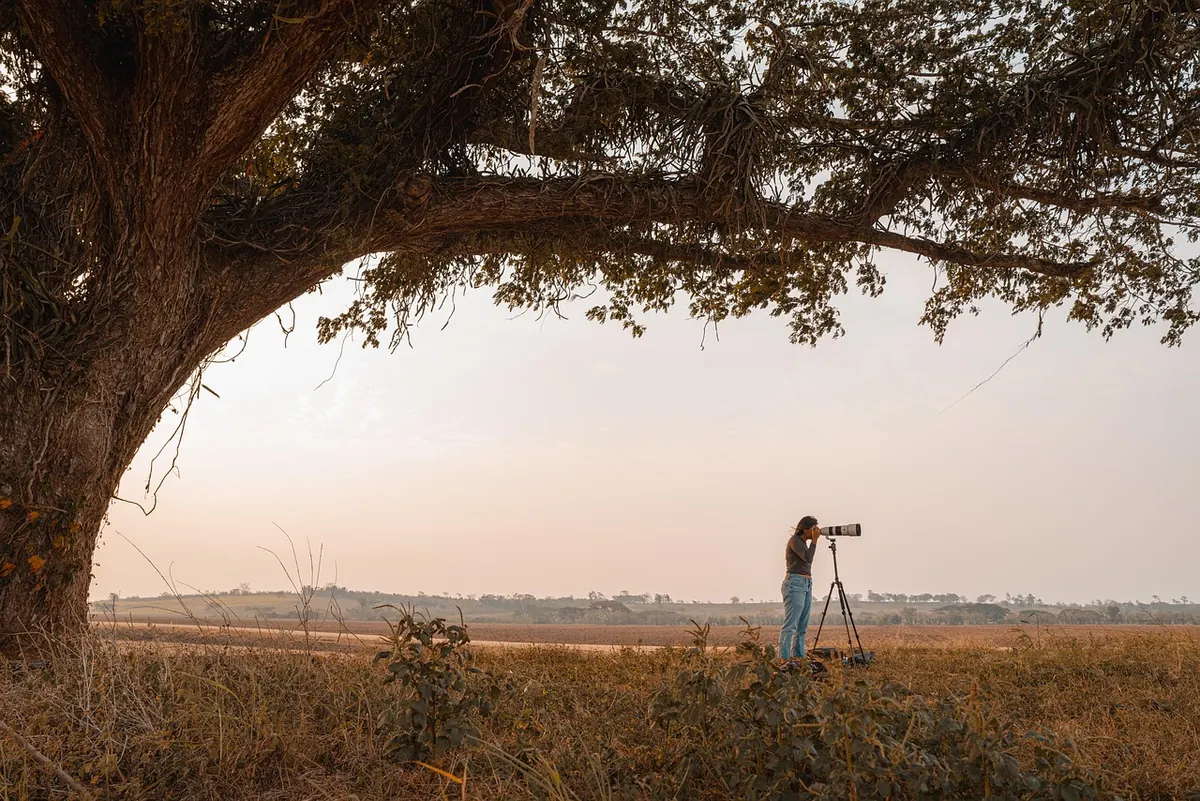
On a tripod, switch image stabilisation off, use a two-second timer and focus in live view at magnification. For wide scenes, focus roughly a third of the way into the frame and stop down a little. A polariser is the single most useful filter in the Highlands: it cuts glare on wet rock and deepens a sky when you stand at right angles to the sun. A three-stop graduated filter helps when the sky is three times brighter than the glen below.
A beginner's kit list
- Camera body, plus a wide zoom (roughly 16–35mm) and a standard zoom for compressing distant ridges
- A sturdy tripod. Lightweight travel tripods wobble badly in Highland wind
- Polariser, graduated neutral density filter, and a cloth for the front element every five minutes
- Two or three spare batteries — cold drains them fast
- Waterproof rucksack liner, because rain here comes in sideways
- Boots with real grip, a headtorch, and a paper map and compass
- Flask, spare gloves, and a dry bag with a spare mid-layer
Five places to start
These are all reachable from a car park or a layby, which matters when you are still learning how much time a location actually takes.
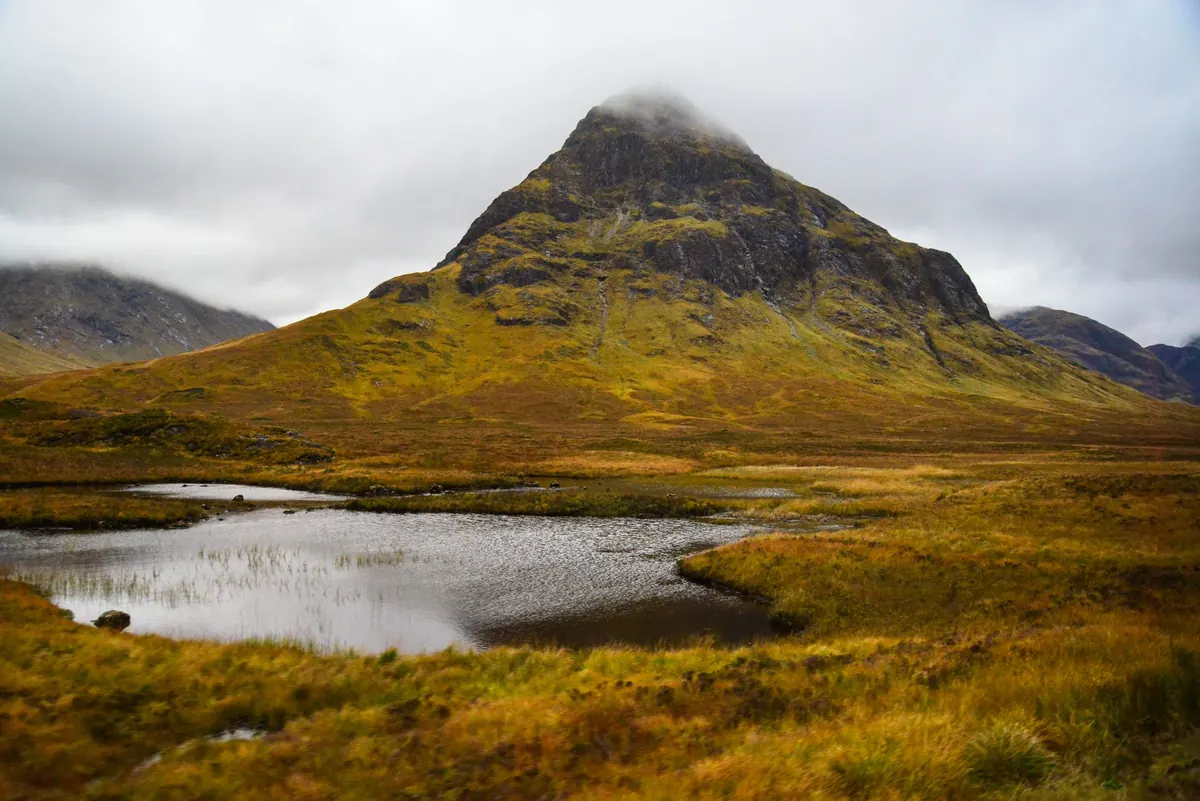
- Buachaille Etive Mòr, Glencoe. The classic pyramid seen from the laybys near Altnafeadh on the A82. Works at sunrise and in bad weather.
- Rannoch Moor. A few minutes east on the same road. Pools, boulders and enormous skies. Watch where you step; the bog is genuine bog.
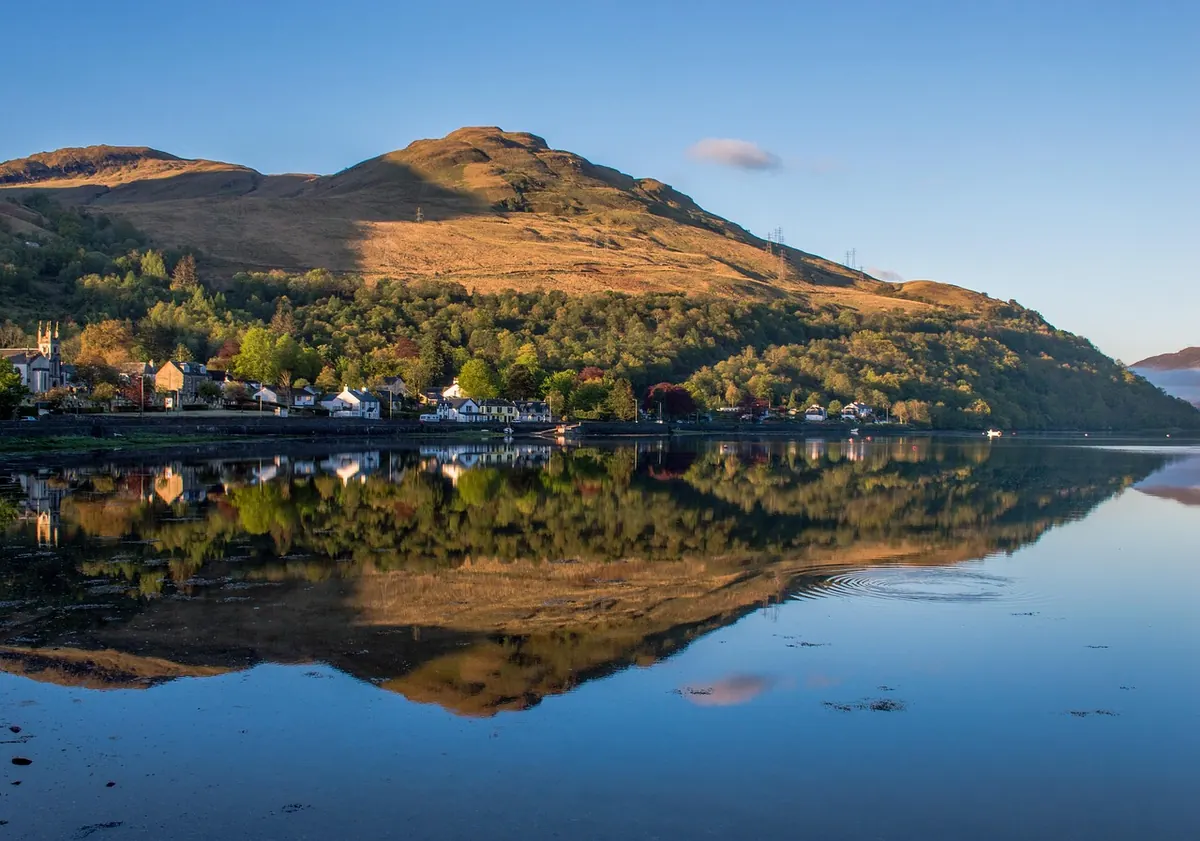
- Loch Clair, near Torridon. Woodland framing a huge mountain across still water. Best early, before the wind picks up.
- Sligachan, Isle of Skye. The old bridge with the Cuillin behind it. Arrive early; the car park fills in summer.
- Ardvreck Castle, Assynt. A short walk to a ruin on Loch Assynt, with low sun behind it in winter.
Planning around weather, tides and midges
Check a mountain forecast the night before, not just the general one, and pay attention to wind speed as much as rain. Sustained winds above roughly 40mph on exposed ground will ruin long exposures and make standing unpleasant. Note sunrise and sunset times, then plan to be on location forty-five minutes early — the best light usually comes before the sun appears.
On the coast, check tide tables. Rocky shorelines on the west coast flood fast, and a spot that looks safe at low water can be cut off within an hour. If you have walked out along a headland, remember that you have to walk back.
Midges run roughly from late spring to early autumn, worst on still, damp evenings on the west coast. A repellent, a head net and a willingness to shoot in a breeze or in the middle of the day will get you through. A calm, warm, midge-heavy evening is often a beautiful evening, so it is worth the irritation.
Staying safe on Highland ground
Tell someone your route and your expected return, and message them when you are back. That is the single most useful habit you can build. Mobile signal is patchy to non-existent in many glens, so download offline maps and carry the paper version as well.
Take river crossings seriously. A burn that is ankle-deep at breakfast can be waist-deep after an afternoon of rain on the hills above. If it is running hard and brown, turn around. If someone in your group gets cold, wet and confused, treat it as urgent: get them warm and get off the hill, and seek medical help rather than pushing on.
Park in laybys, never in passing places on single-track roads. Scotland's access arrangements are generous, but they come with responsibilities — leave gates as you find them, keep dogs under control around livestock, and give wildlife space. Check yourself for ticks after a day on the hill, and if you feel unwell afterwards, ask a pharmacist or GP rather than a photography website.
Your first Highland trip, in practice
Base yourself somewhere like Fort William or Ballachulish and give each half-day one location, with a second option nearby in case the weather turns. Shoot, then review your images somewhere warm and decide what you would change: a different height, a longer lens, an earlier start. Expect to delete most of what you bring home. That is normal.
The photographers who get the best Highland images are not the ones with the most gear. They are the ones who go back to the same glen in rain, in frost and in flat grey light until they know exactly what it does. Pick one place from the list above and make it yours.
Photo: Nunzio Guerrera / Pexels