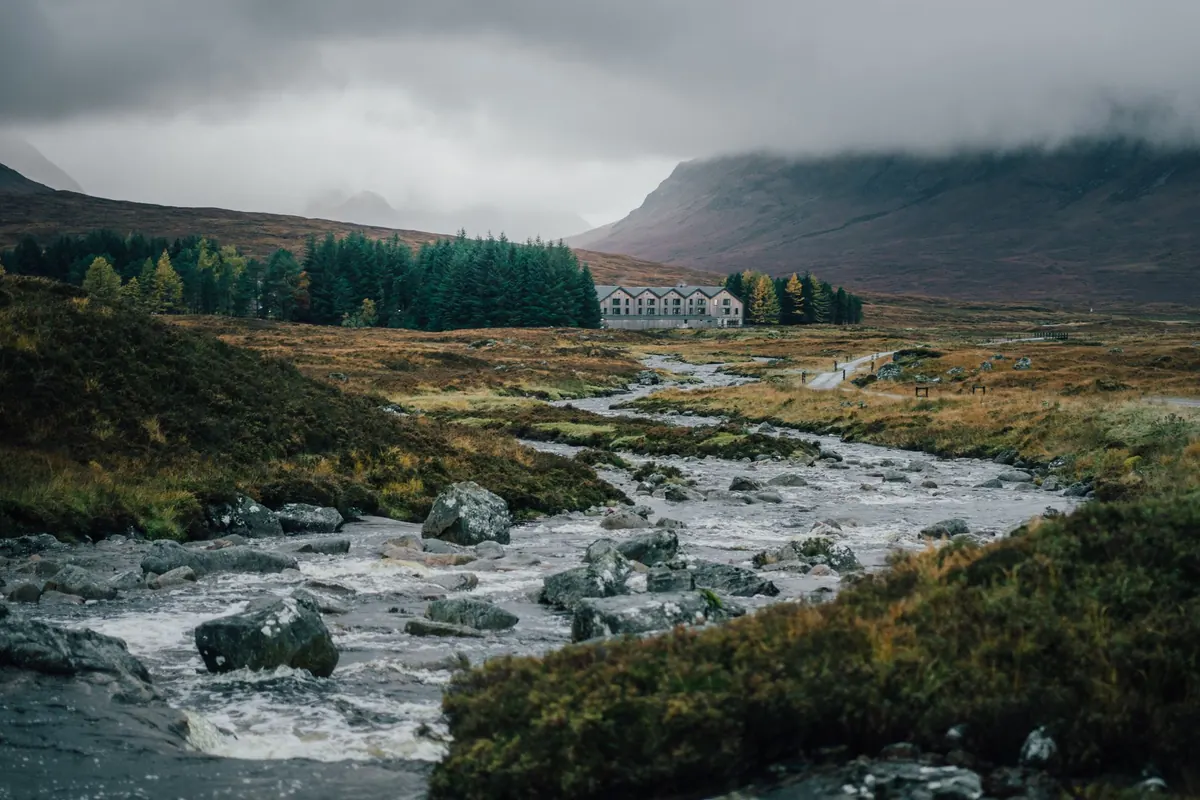
How to Photograph Scottish Lochs in Mist: Settings, Timing and Composition
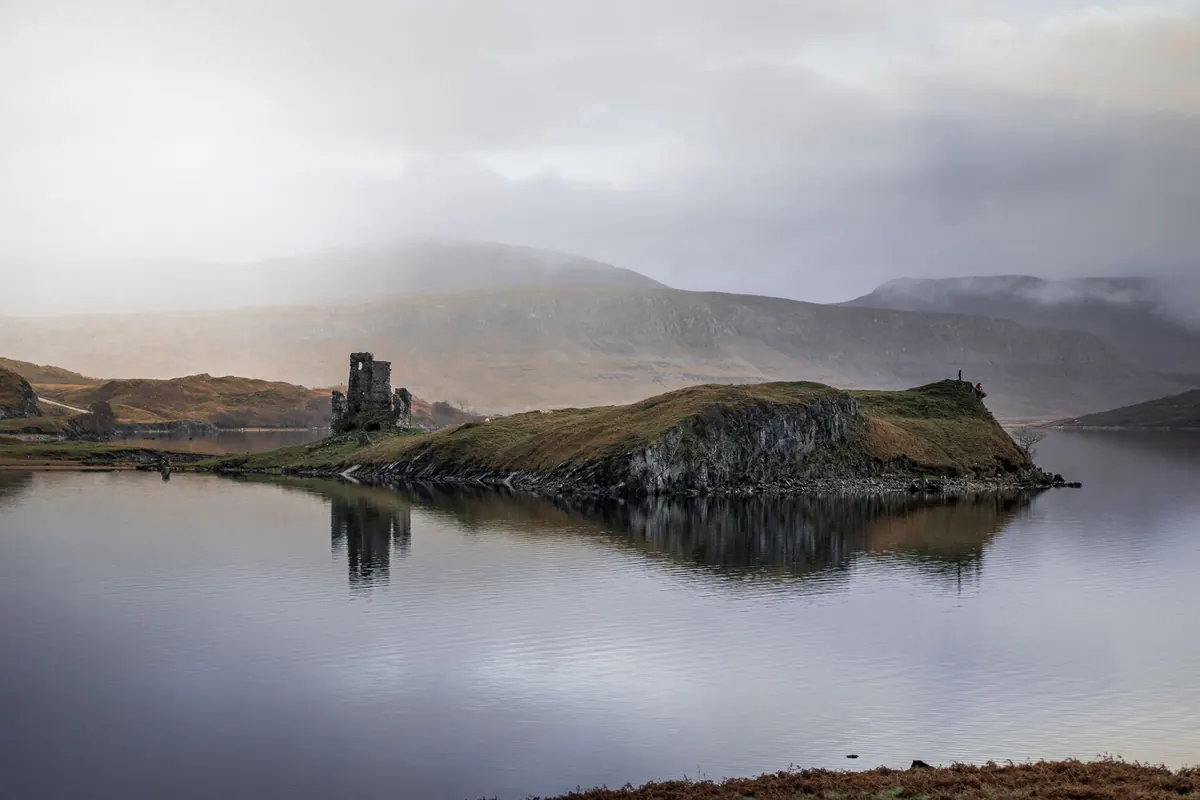
Scotland does mist better than almost anywhere. On a cold, still morning, a loch you know well becomes something newly made: islands floating, hills reduced to bands of grey, water and sky the same soft nothing. The catch is that it rarely lasts. You get perhaps twenty minutes of the really good stuff, and the camera will not volunteer to help. Here is how to be ready for it.
When the Mist Actually Forms
Mist is a simple recipe: moisture in the air, a cold night, and almost no wind. Rain the day before saturates the ground. A clear sky overnight lets heat escape, so the air cools toward the dew point. Water holds its warmth longer than land, which is why mist often sits on a loch while the fields beside it stay perfectly clear.
Autumn and winter are the reliable months, roughly October through February, though a May morning after a cold front can deliver just as well. Shelter matters too: a loch at the foot of a steep glen holds mist longer than an exposed one near the coast.
Wind decides everything. Anything stronger than a light breeze mixes the air, and the mist thins or vanishes. A faint drift is ideal. It pushes mist across the surface and opens gaps that reveal the far shore — far more interesting than a uniform grey wall.
- Rain or damp, humid air in the previous twenty-four hours.
- A clear, calm night with only light wind in the forecast.
- An overnight temperature forecast close to the dew point.
- A sheltered inland loch rather than an open, breezy coastline.
Timing: Two Windows, One of Them Short
Be in position thirty to forty minutes before sunrise. In the blue hour the mist reads cool and blue, and the loch is usually at its stillest. Then the light arrives, and this is the part people miss: the best moment is rarely sunrise itself, but the few minutes when the sun first cuts through, backlighting the mist and rimming trees and reeds with gold. It can look like nothing is happening, then change completely in ninety seconds.
Stay put after the sun clears the hills. As the ground warms, mist lifts, breaks into patches, and drifts down the glen. That dispersal is often more photogenic than the fog itself. Give it a full hour before you pack up.
The second window is dusk. After a clear, cold afternoon, mist can reform as the air cools again, and you get the same soft layering with longer shadows. It is less crowded and less rushed, which suits this kind of photography.
Camera Settings for Flat, Bright Light
Mist is bright, and your meter will try to render it as mid-grey. Left alone, that gives you grey, muddy files and a scene that looks nothing like what you saw. You need to push exposure up and check the histogram rather than the preview.
- Shoot in manual mode at your camera's base ISO, usually 100.
- Set the aperture between f/8 and f/11 for sharpness across the frame. Go to f/16 only if a near foreground element demands it.
- Work on a tripod, with a two-second timer or a remote release.
- Start with a shutter speed between 1/4 sec and 2 sec if you want the water smoothed out. Shorten it when reeds or grasses are moving in the breeze.
- Add one to one and a half stops over the meter's recommendation, then check the histogram: keep the tones well to the right, but do not let the brightest mist clip.
- Record RAW files. Mist scenes are low in contrast, and you will want the headroom when you bring back shape and separation.
A polariser can deepen distant layers by cutting scattered light, and a six-stop neutral density filter lets you use slow shutter speeds after sunrise. Check both through the viewfinder before committing — a polariser also kills the sheen on wet rock, which you may actually want.
Focusing and Keeping the Glass Clear
Autofocus hunts in flat, low-contrast light, especially when you point it at a distant hillside. Switch to manual focus, magnify the live view, and set focus on your anchor element rather than the mist itself. For wide scenes, focusing roughly a third of the way into the frame gives you front-to-back sharpness without fussing over hyperfocal tables in the dark.
Condensation is the other battle. Wipe the front element with a microfibre cloth before every shot, keep the hood on to control stray light, and let the camera acclimatise slowly. When you head back inside, seal the camera in a bag first so it warms up gradually rather than fogging internally. Keep a spare battery in an inside pocket — cold drains them quickly.
Composition: Take Things Away
Mist is a great editor. It erases clutter, which means your job is to find what is left and give it room. Look for a single anchor: a lone rowan, a jetty, a stranded boat, a boulder, a ruined wall, a line of fence posts. Place it off-centre and let the mist hold the rest of the frame.
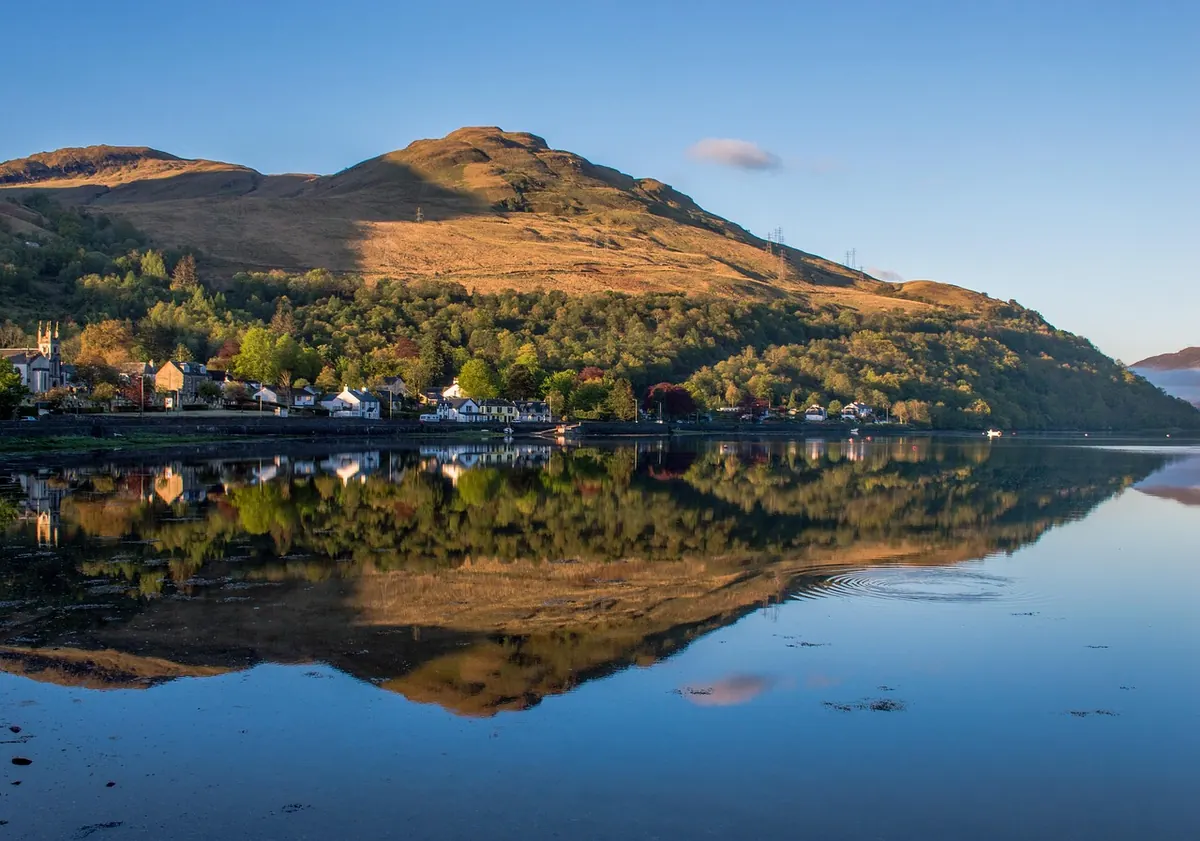
Then think in layers. A dark near rock, a mid-distance island, a faint stroke of hill beyond — that is depth, and a longer lens will compress the bands into something almost abstract. Get low, close to the water's edge, when the loch is glassy enough to reflect.
Light direction changes the mood entirely. Shooting into the sun gives glow, flare and rim-lit mist. Shooting with the sun behind you gives soft, even tones and more visible detail in the far shore. Try both before the mist lifts, and use a vertical frame when you want to emphasise reflection and depth.
What to Carry on a Misty Morning
- A sturdy tripod and a remote release.
- Two or three microfibre cloths, and a spare in a dry pocket.
- Spare batteries kept warm inside your jacket.
- A six-stop ND filter and a polariser.
- A headtorch, waterproof boots and gloves.
- A dry bag or plastic sack for the camera between shots.
- A midge head net in the warmer months, and a flask.
Your First Twenty Minutes on the Shore
Check the forecast the night before: light wind, a clear night, damp air. Charge everything, pack the bag, and set an alarm that gets you there in darkness. Walk in with the headtorch, find your composition by feel and by memory, and set the tripod low and steady. Then wait. Do not chimp through the best light — glance at the histogram, adjust, and keep shooting as the mist moves.
Wet rock and cold water are the real hazards here, and phone signal at a remote loch is often poor. Tell someone where you are going and when you expect to be back, and take your time on slippery ground. Then return to the same loch another morning. Mist behaves differently every time, and the third or fourth visit is usually when you get the frame you were after.
Photo: Clément Proust / Pexels