A Checklist for Photographing Waterfalls in Scotland
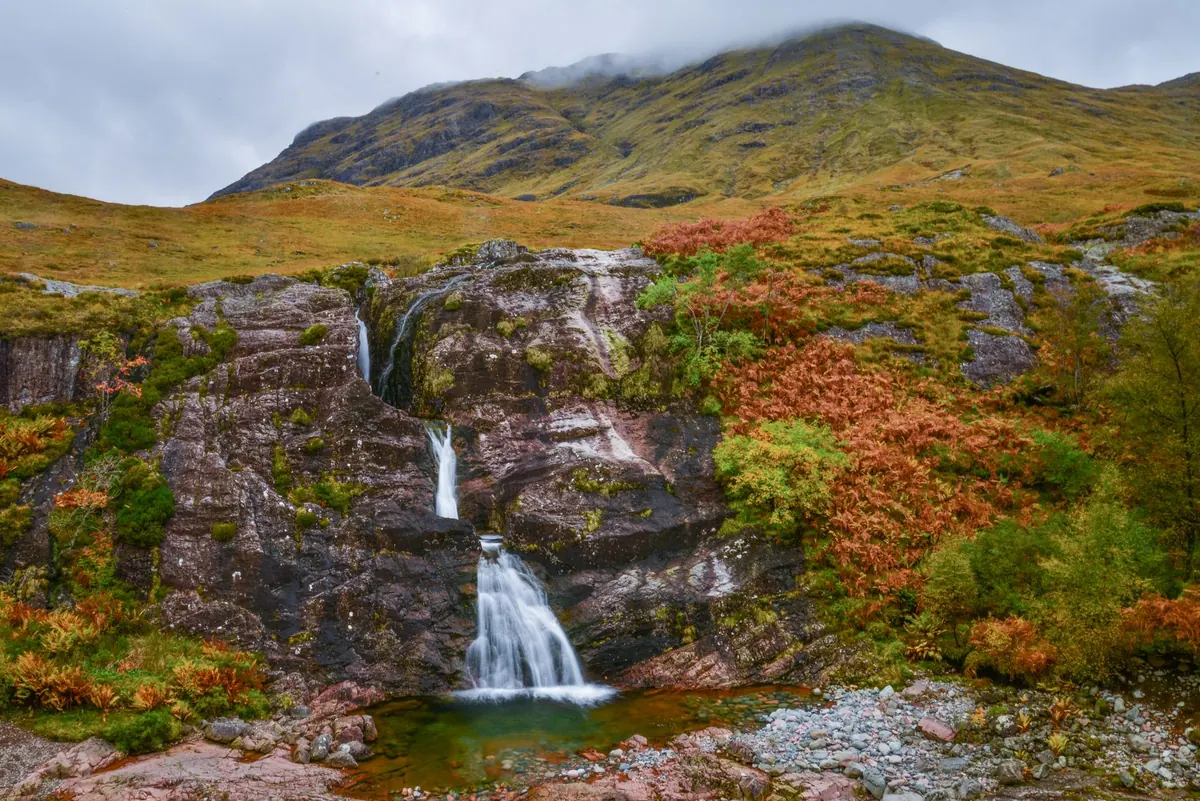
Scotland has more waterfalls than anyone can photograph in a lifetime, and the best of them are rarely near the car park. They sit at the end of boggy tracks, behind forestry plantations, under the road bridge you have driven over a dozen times without noticing. The light is usually flat, the rock is always wet, and the spray will find your front element within a minute. None of that is a problem once you have a routine.
What Belongs in the Bag
Most waterfall photographs fail for boring reasons: a shaky tripod, a smeared filter, a lens that fogged up on the walk in. Sort the basics first.
- A tripod you actually carry. Carbon if the budget allows, but weight matters less than whether you will take it out of the bag. Spiked feet or firm rubber on wet schist, and a head that locks without drifting.
- A remote release or the two-second timer. Anything that stops your hand touching the camera during a one-second exposure.
- A circular polariser. It cuts the sheen on wet rock and mossy boulders and gives you roughly one and a half to two stops less light, which helps when you want a slow shutter.
- Neutral density filters. A six-stop and a ten-stop cover most situations. Square holders are easier if you plan to stack the polariser in front.
- Three or four microfibre cloths, not one. Spray is constant near a fall in spate, and a damp cloth just moves the water around.
- A rain cover or a plastic bag and elastic band. Cameras survive drizzle; they do not enjoy standing under a waterfall for two hours.
- A headtorch. Scottish glens go dark early, especially from October to March.
- Boots with real grip, plus a midge head net between May and September.
Shutter Speeds, and What Each One Buys You
There is no correct shutter speed for moving water, only choices. Try several at the same spot and look at them properly on the back of the camera before deciding which suits the scene.
1/500 second and faster
Freezes droplets mid-air. On a sunlit fall this can look sharp and energetic, but it often reads as noise rather than flow. Useful for spray against a dark background.
1/60 to 1/250 second
Water still looks like water, with visible threads running over the lip. This is the range I use most for intimate compositions, mossy boulders and small cascades where the detail matters more than the glow.
1/8 to 1/2 second
Ribbons appear. The fall keeps its structure but gains a bit of polish, and you can often manage this in shade without a filter.
1/2 to 4 seconds
The classic silk. At the longer end, air movement will smear leaves and grasses, so this range rewards a still day or a sheltered gorge.
Eight seconds and beyond
Water becomes steam or milk. It can be beautiful at Grey Mare's Tail or Falls of Bruar in flat light, and it can just as easily swallow the shape of the fall. Use it when the water is thin and the rocks underneath are the subject.
Set ISO to its base value, work around f/8 to f/11 for a sharp frame front to back, then use an ND to reach the shutter speed you want rather than stopping down to f/22. Focus manually on the rock at the lip of the fall, not on the moving water. Check the histogram for clipped whites in the spray and shoot raw.
Filters: Less Clever Than It Sounds
The polariser does more work than any ND. Rotate it slowly and watch the wet rock and foliage change; the sweet spot is usually a compromise between cutting glare and keeping the highlights lively. A graduated ND is rarely much help in a gorge, because the bright area is in the middle of the frame, not along the horizon. If you do not own a long ND yet, bracket a few frames and blend them later, or shoot on a heavily overcast day when the light is already soft.
Keep the front element dry between frames. Two shots ruined by a spray droplet look identical to one shot ruined by a poor exposure, and both waste the walk in.
After the Rain: Reading the Water
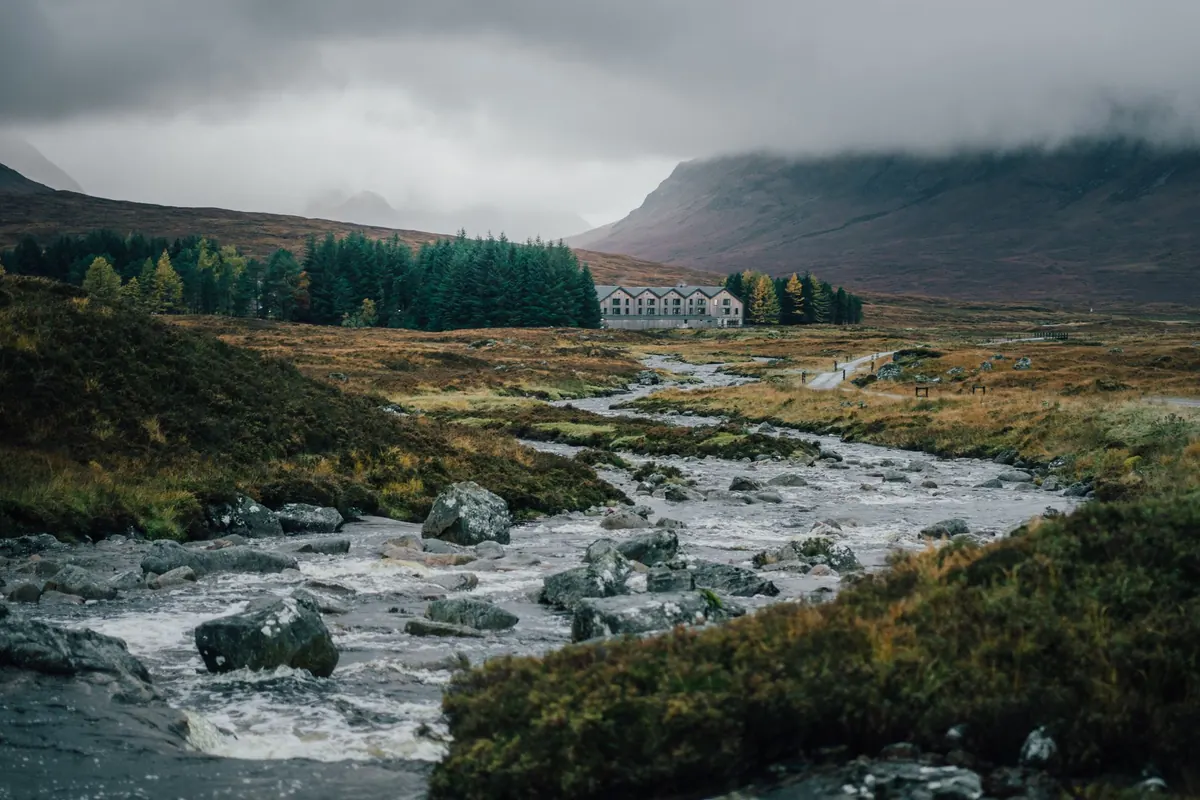
Waterfalls need rain, but the best conditions usually arrive after the weather, not during it. A violent spate runs brown, throws huge blown highlights and fills the frame with force rather than form. Give it a few hours, or a day, and the level drops back to a flow you can shape.
Overcast light is your friend. Direct sun on white water is close to unmanageable, and dappled light through trees creates patches of clipping you cannot recover. Drizzle, mist and the twenty minutes after a front passes are often ideal. Autumn gives you rain plus colour in the same week, which is hard to beat. In deep winter the falls may partly freeze, daylight is short and you will be walking out by torchlight, so plan accordingly. A dry spell will leave some burns thin, but it also exposes clean rock and pools that a spate hides.
Safety on Wet Rock
Green algae on rock behaves like ice, and it grows exactly where you want to stand. Test every surface with a foot or a pole before committing your weight, and never stand on the lip of a fall with a tripod in front of you. If you set up in the water, keep to shallow edges and check the upstream view for anything that might release a surge.
Do not wade a burn in spate. If the water is above your knees or visibly pushing, that is the answer, not a challenge. Weirs, hydro intakes and gauging stations can change the flow without warning, so treat structures with suspicion. Tell someone your route; phone signal in the glens is patchy at best. Check for ticks after a day among bracken and long grass, remove any you find properly, and speak to a pharmacist or GP if you feel unwell afterwards.
A Field Routine, Start to Finish
- Walk the bank first with no camera in your hand. Find the clean lip, the best pool and where the light falls.
- Set the tripod low and firm, legs in the water only where it is shallow and still.
- Compose with a foreground boulder, moss or a slab of rock, and keep the brightest sky out of the frame.
- Wipe the front element, focus on the rock at the lip at f/11, then switch to manual focus and leave it.
- Meter for the highlights in the water and bracket a stop either side if you are unsure.
- Work through the shutter speeds rather than guessing. Four exposures teach you more than one.
- Dry the camera, the filters and the tripod legs before they go back in the bag.
Come Back in Different Weather
The frames you keep are usually from the second or third visit, when the level is right and you already know where to stand. Note the settings you used and the flow you saw, then return after the next wet spell, or in frost, or in late October when the birches are gold and the moss is soaked. Nothing about a Scottish waterfall stays the same for long, and that is the whole pleasure of photographing one.
Photo: Nunzio Guerrera / Pexels