10 Common Landscape Photography Mistakes and How to Avoid Them
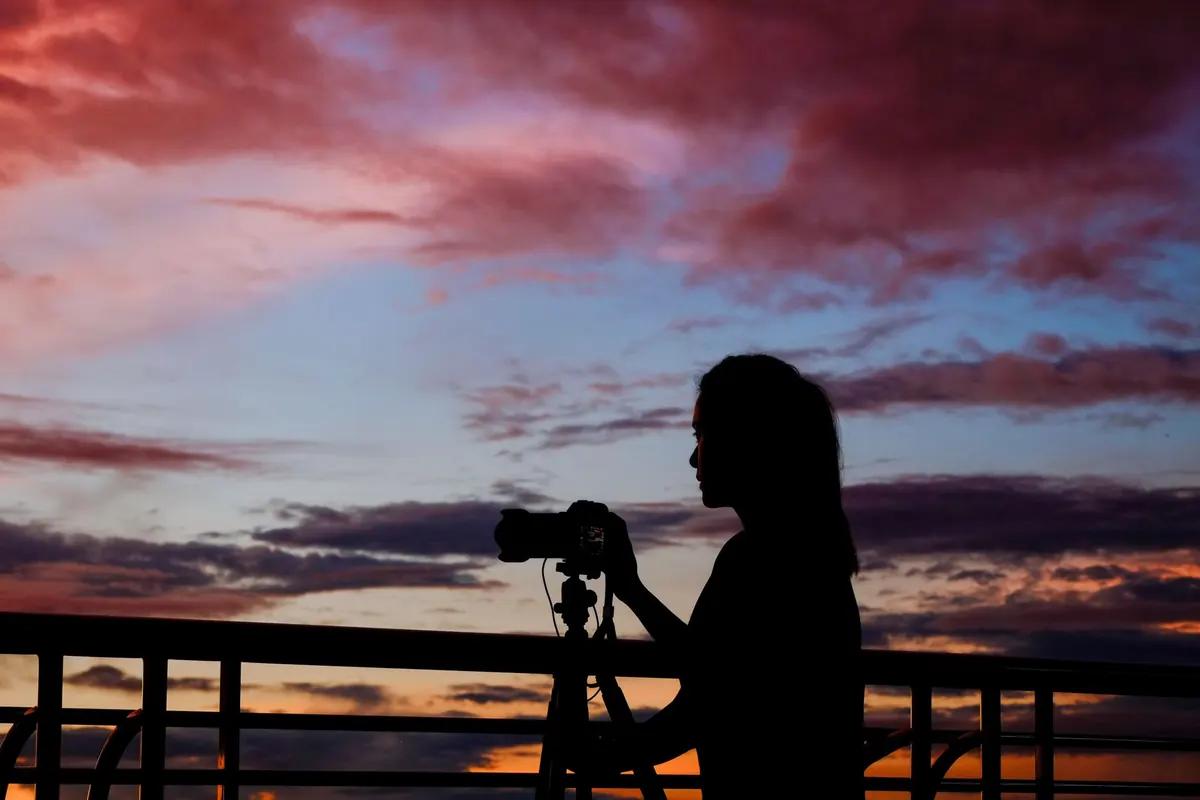
Everyone comes home from a shoot with a few frames that refuse to match what they saw. The hill looked enormous, the lake was glass, the light was doing something extraordinary — and the photograph is just fine. That gap is rarely the camera's fault. It usually comes down to a handful of small decisions: where you stood, when you pressed the shutter, how you read the light, and how far you pushed the file afterwards. The ten mistakes below are the ones that show up again and again in landscape work, along with the fixes that deliver the biggest improvement for the least effort.
1. Shooting in flat, formless light
Midday sun is the most common reason a landscape looks dull. Overhead light flattens hillsides, kills the texture in rock and sand, and turns a promising sky into a pale wash. The scene hasn't changed; the light has.
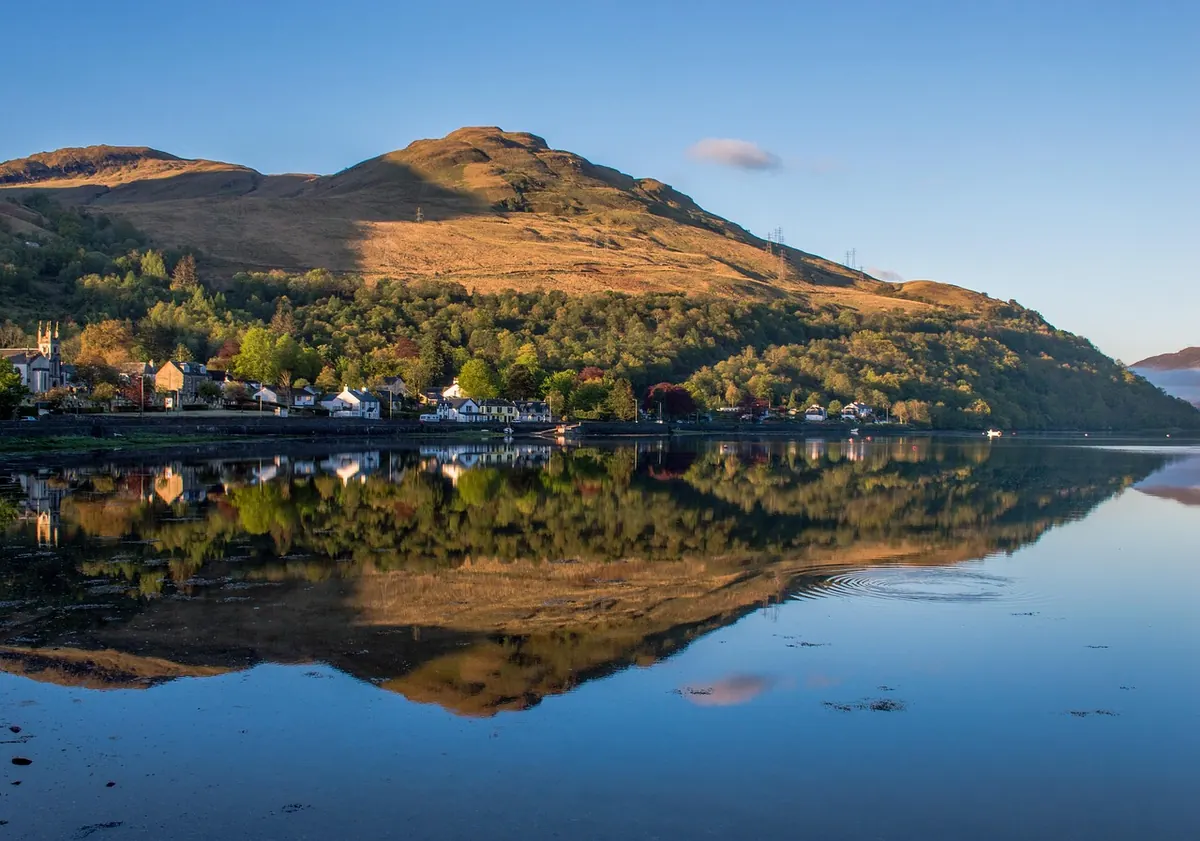
The fix is to build your day around the edges of it. Aim to be in position for the first hour after sunrise and the last hour before sunset, and give yourself at least thirty minutes of setup time before the light arrives. Some of the best conditions come in the ten minutes after the sun slips below the horizon, when the sky glows and the shadows soften.
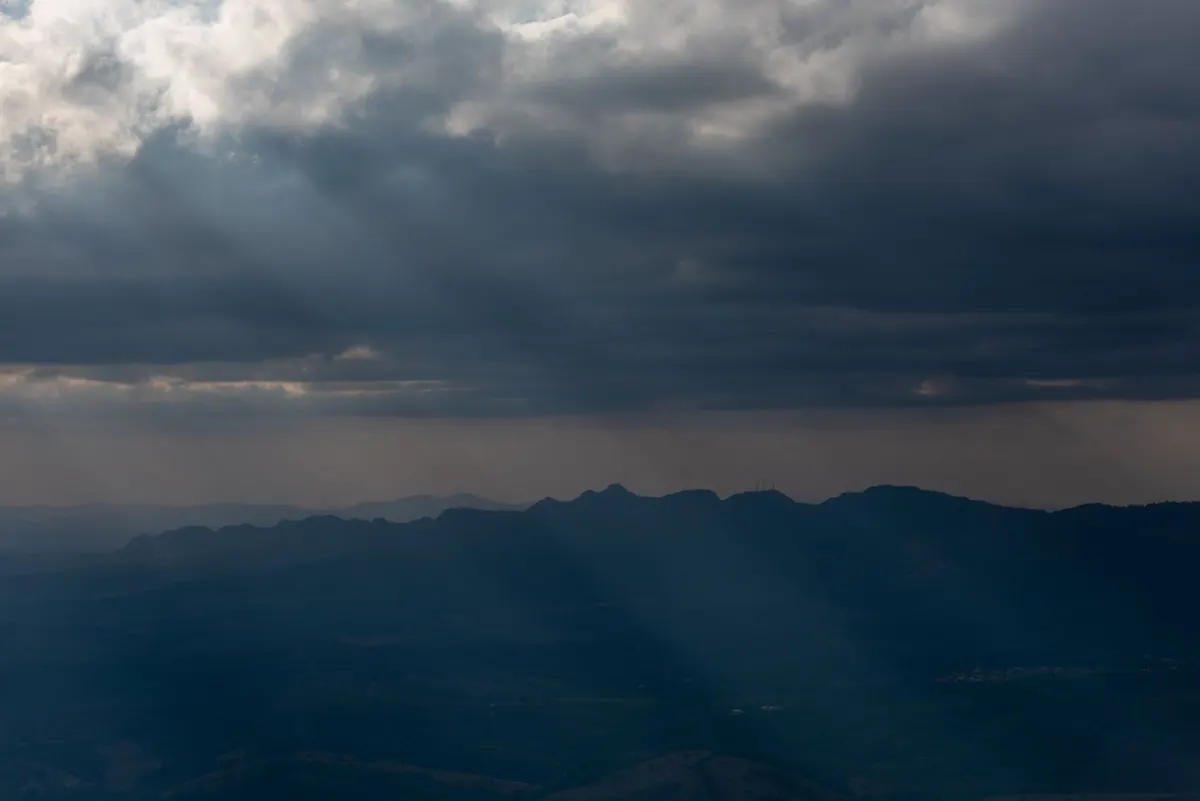
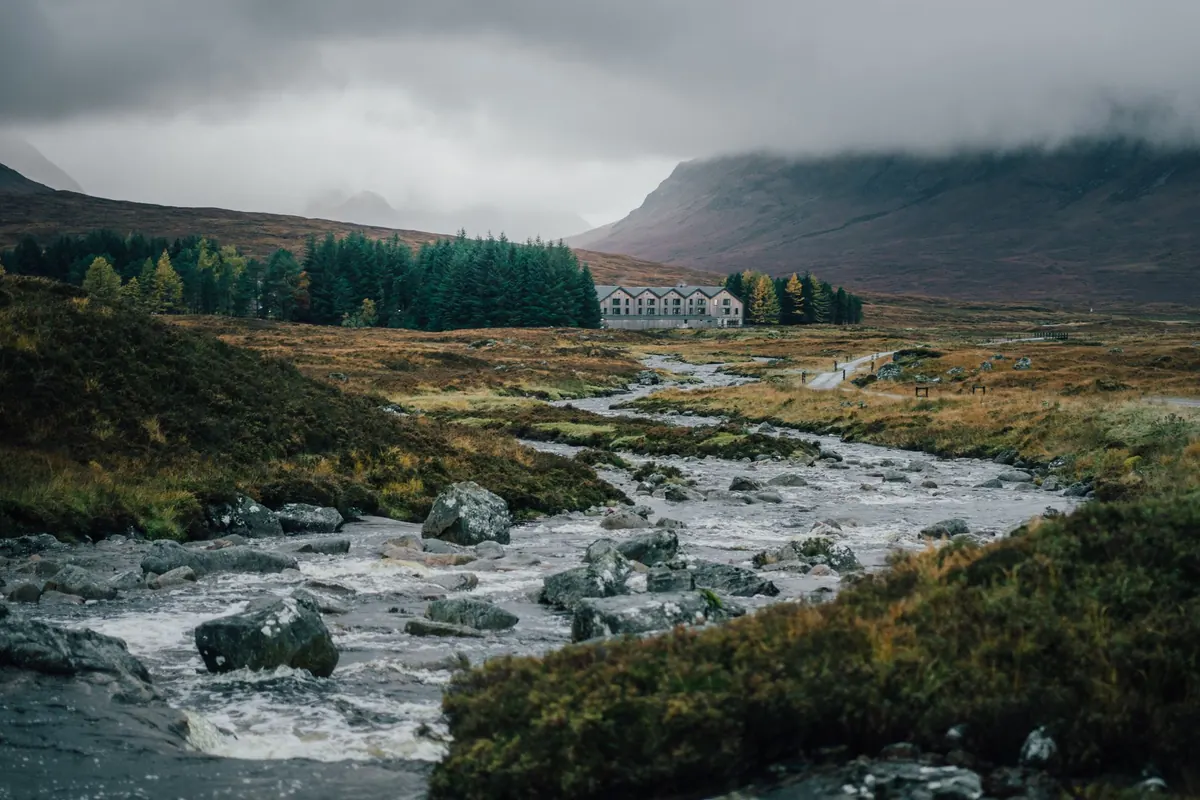
Don't treat golden hour as a law, though. Fog, breaking storms, fresh snow and heavy overcast all offer their own kind of light, often better than a clear sunset. Ask what the light is doing rather than what time it is, and stay out when the weather turns interesting.
2. Arriving without a plan
Turning up at a famous viewpoint for the first time at sunset is a recipe for a rushed, mediocre frame. You spend twenty minutes finding the path, ten minutes hunting for a spot, and the good light is gone.
A little preparation changes everything. Before you leave, check where the sun will rise and set, how the tide behaves, and what the forecast is likely to do. Sun-position tools, tide tables and a decent weather app take five minutes and prevent wasted trips. Study the terrain on a map and decide roughly where you want to stand.
Then arrive early — early enough to walk in, set up and shoot a few test frames before the light peaks. Plan a second shot too. If the main composition doesn't work, you want a fallback a short walk away rather than a decision made in the dark.
3. Composition errors that flatten a scene
Most weak landscape photographs fail for one of three reasons, and all three are easy to catch in the field once you know to look for them.
The horizon sits dead centre
A horizon in the middle splits the frame into two equal, competing halves. Decide which half deserves the attention. If the sky is the story, drop the horizon into the lower third; if the land or water is, push it into the upper third. Use the grid overlay on your screen to check before you shoot, not afterwards on a laptop.
There's no clear subject
A photograph of "a nice view" gives the eye nowhere to land. Name the subject out loud — a lone tree, a rock pool, the curve of a river — then ask whether it is the brightest, sharpest or most contrasty thing in the frame. If it isn't, move closer, change lens, or reframe until it is.
Clutter around the edges
Half a car park in the bottom corner, a bright patch of sky pulling the eye away from the peak, a stray branch poking into the frame. Before every shot, run a quick check:
- Scan all four corners. Anything that doesn't belong there?
- Look for bright or high-contrast elements near the edges — the eye goes to them first.
- Check the frame with your feet as well as your zoom; a step sideways often removes a problem entirely.
4. Forgetting the foreground
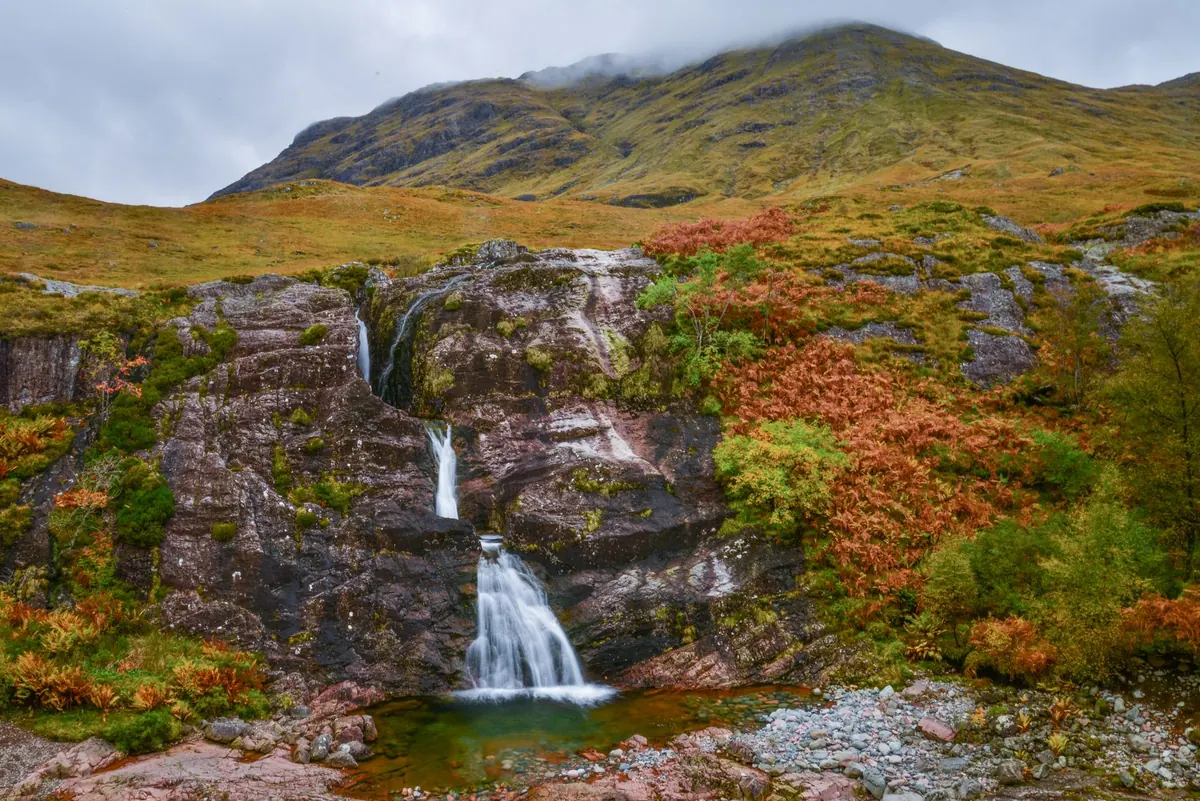
Wide lenses make distant mountains small. Without something close to the camera to anchor the frame, even a dramatic vista reads as flat and distant.
Look for a foreground element that leads the eye in: a line of stones, a grass tussock, ripples, a path, a patch of frost. Get low and close so it fills the bottom third, and check that it is sharp — foreground blur is far more noticeable than blur in the far distance. Focus roughly a third of the way into the scene or use a smaller aperture to keep both areas usable, then review at 100 percent to confirm. Adding a middle-ground element between foreground and horizon gives the eye a route to travel, and that sense of depth is what separates a good landscape from a flat record of a place.
5. Blown skies and muddy shadows
Bright skies and dark land rarely fit inside one exposure. Point the camera at the ground and the sky turns white; expose for the sky and the landscape becomes a black silhouette.
Start by watching the histogram rather than the screen, which lies in bright conditions. Push the exposure as far right as you can without clipping the highlights, because detail lost in a white sky never comes back, while shadow detail usually can be recovered. If the range is still too wide, bracket three or five frames a stop or two apart and blend them later, or use a graduated filter to hold back the sky. On moving water or foliage, blending is often cleaner than a long single exposure.
6. Losing sharpness to technique
Soft images are usually a technique problem, not a lens problem. Wind, a light tripod and a heavy press of the shutter button will all cost you detail you can't get back.
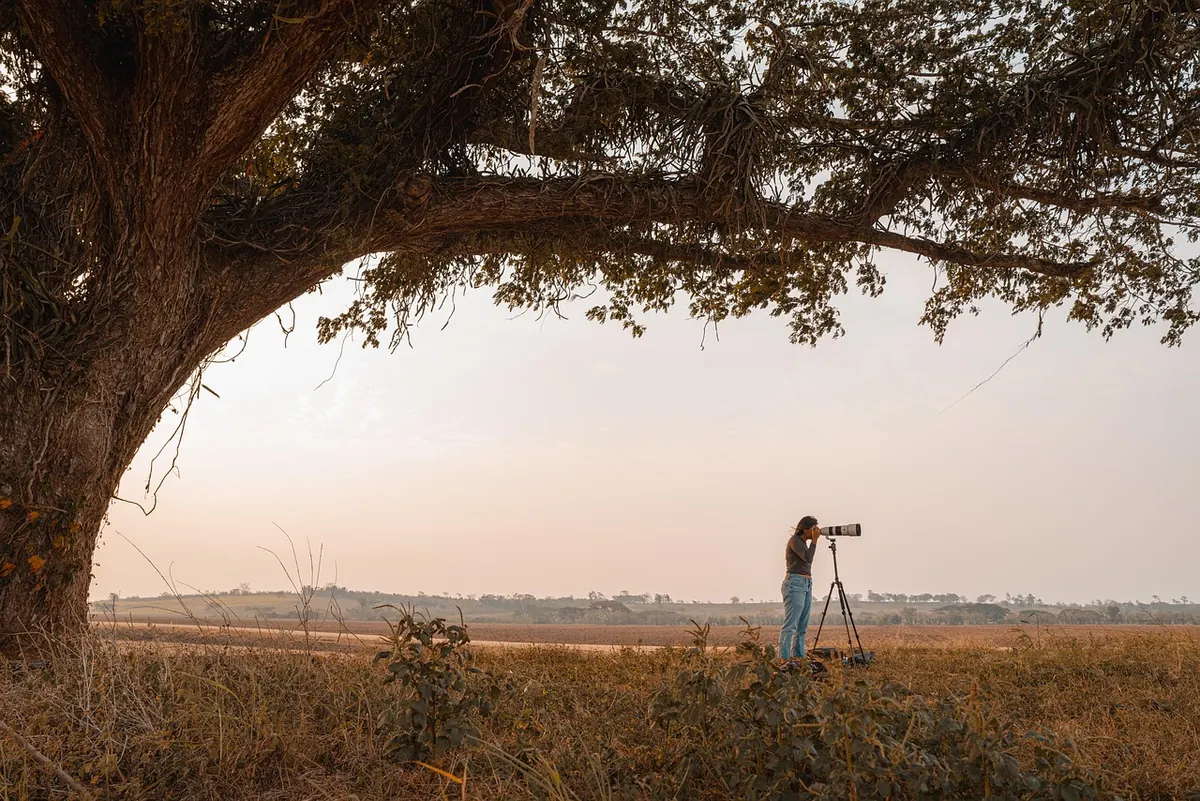
Use a sturdy tripod, hang your bag from the hook if it has one, and switch off image stabilisation when the camera is locked down. Use a two-second timer or a remote release, and consider mirror lock-up or an electronic shutter to remove vibration. On breezy days, wait for a lull rather than firing on hope, and consider a slightly faster shutter speed over the perfect aperture if the leaves are moving. If you're hand-holding, keep the shutter speed at least as fast as the reciprocal of your focal length.
7. Editing past the point of no return
Over-processing is the quiet killer. Oversaturated greens, halos along the horizon, and shadows lifted until they turn grey all read as unnatural, and they're hard to unsee once you notice them.
Work in small steps and step away from the screen between them. A useful test is to look at the image at 25 percent size — halos and colour casts show up there long before they do at full view. Check that your highlights still contain some tone, that blacks are genuinely black, and that the white balance suits the mood rather than the memory of the day.
A short field checklist
None of this requires new gear. It requires a few minutes of thought before and after the shutter. Run through this list on your next outing:
- Arrive early, with a first and second composition already in mind.
- Ask what the light is doing, not what time it is.
- Place the horizon deliberately and name your subject.
- Check the four corners for clutter.
- Get low, find a foreground, and confirm it's sharp.
- Read the histogram; protect the highlights.
- Lock the camera down and fire without touching it.
- Edit gently, then stop.
Pick two of these to focus on during your next shoot. Fixing habits one at a time is how your keeper rate climbs — and it's a lot more enjoyable than coming home with fifty frames of the same flat view.
Photo: Kai-Chieh Chan / Pexels