Camera Gear Checklist for a Day Shooting Scottish Glens
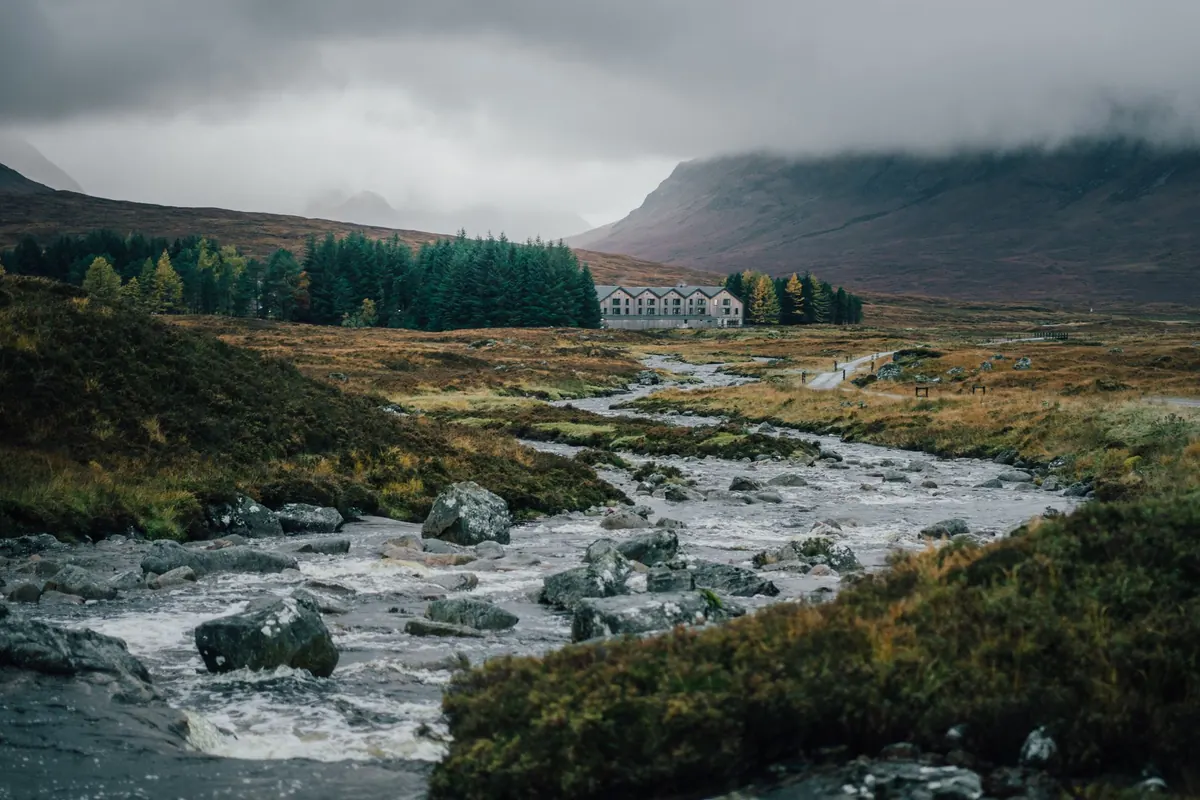
You can carry a perfect kit into a Scottish glen and come home with nothing worth keeping. Not because the gear was wrong, but because it was the wrong gear for the day: too heavy for the walk in, not sealed for the rain that arrived at noon, missing the one lens that suited the light that actually turned up. A glen day is long. It might start in flat grey, deliver twenty minutes of low sun raking across a ridge, then spend the afternoon under horizontal drizzle. The kit has to survive all of that and still be pleasant to carry.
Here is the checklist I run through before a full day out, car park to car park. Print it, cross off what you don't own, and adjust it as the seasons turn.
Start With the Body, Then Add Insurance
One camera body is plenty for most glen days. One battery is not. Cold, damp air drains a battery faster than a warm room ever will, and a mirrorless body left switched on inside a bag will quietly empty itself while you eat lunch. Carry two spares at minimum, three in winter, and keep them in an inside pocket rather than the outer lid where the cold gets at them.
Carry two memory cards, and format them the night before. If you bracket exposures or shoot long-exposure sequences, they fill faster than you expect. Spare batteries and cards are the cheap insurance; a second body is a luxury, and if you have one and space allows, bring it.
Lenses: Wide, Middle, Long
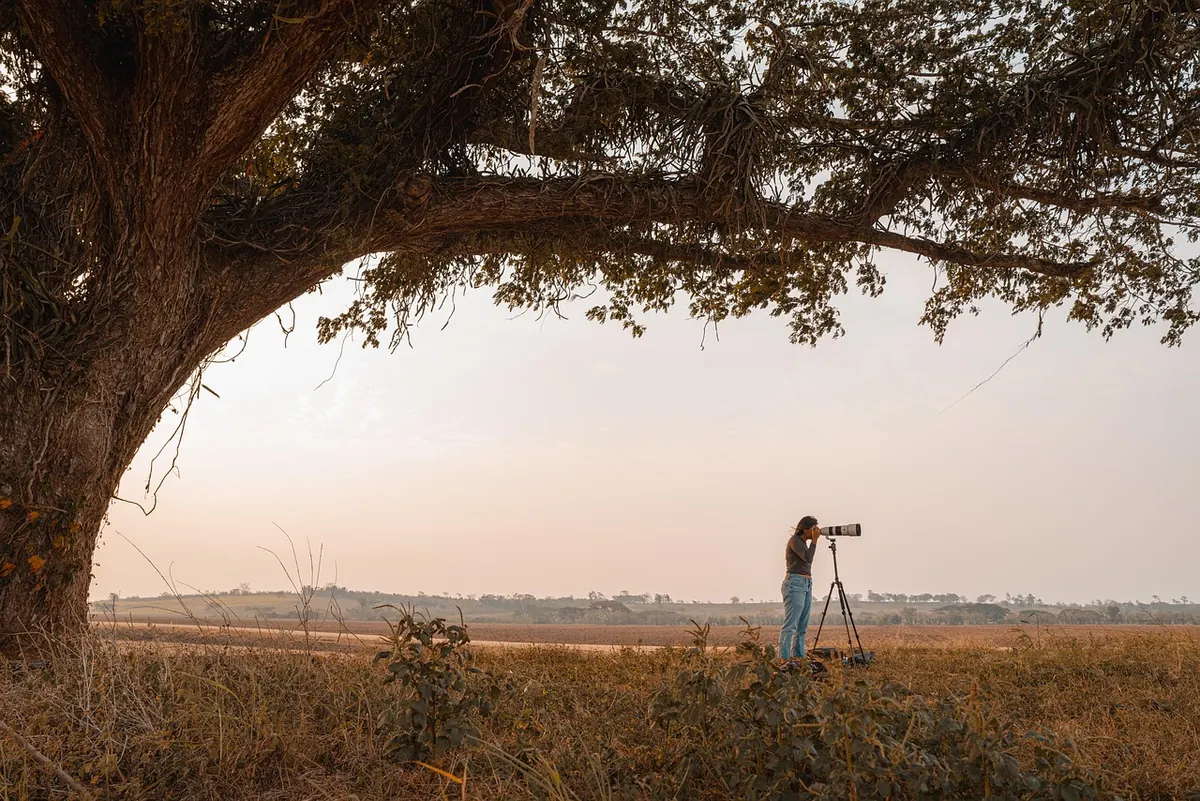
A glen rewards three focal lengths. Wide, around 16–35mm on full frame, for the classic view down the valley and for getting close to a burn, a boulder or a fallen birch in the foreground. Middle, around 24–105mm, for the compositions you will actually shoot most of the day. Long, 70–200mm or beyond, for stacking ridge behind ridge, isolating a single rowan against a dark hillside, or picking out a distant waterfall you have no intention of walking to.
Two good primes, something near 24mm and something near 85mm, cover a surprising amount of ground if you would rather travel light. What matters more than the exact set is weather sealing. Glen rain will find any gap in a mount or a zoom barrel, and a lens that fogs internally will end the day early.
Watch for zoom creep, where a lens slides out under its own weight when your tripod is tilted down. A wide rubber band around the barrel fixes it for pennies.
Filters: The Quiet Workhorses
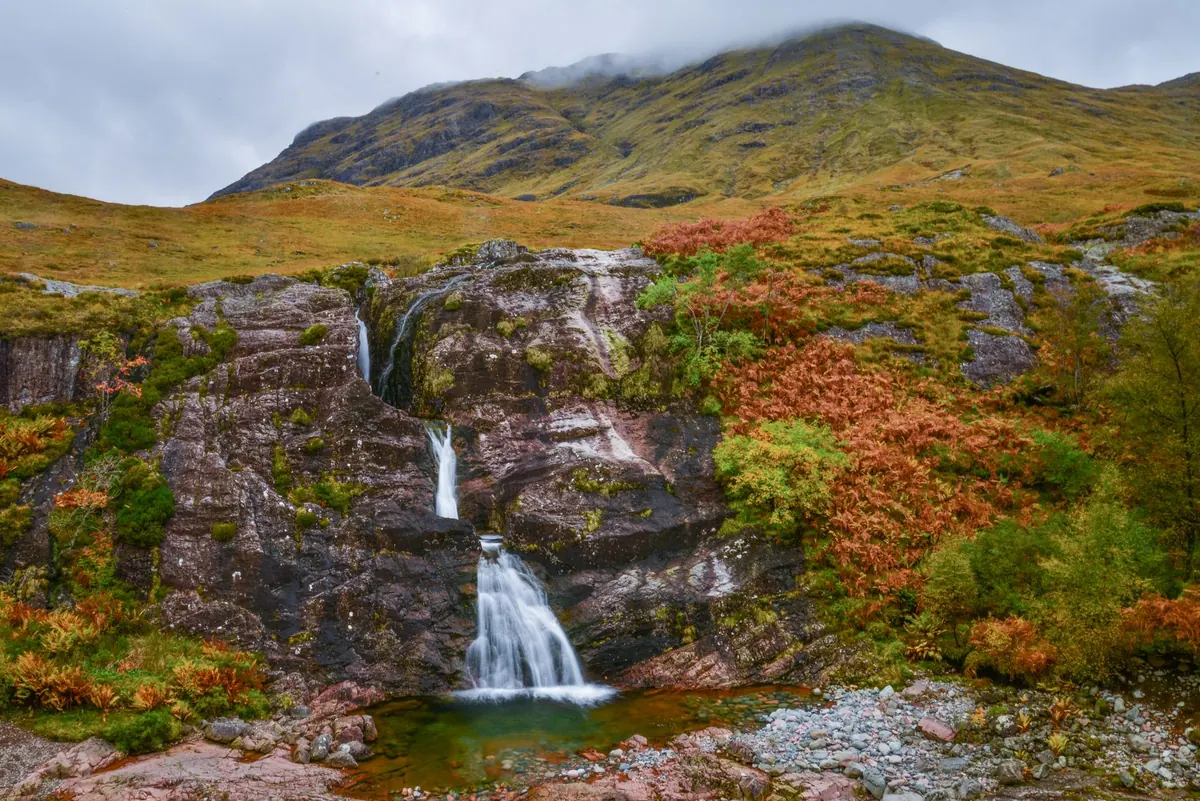
Filters do work that software struggles to fake. A polariser cuts glare from wet rock and deepens a sky, though on very wide lenses it can leave one side of the frame darker, so rotate slowly and check the corners. A six-stop neutral density filter slows a waterfall to silk in flat light; a ten-stop gives you minutes-long exposures for moving cloud. A soft-edged graduated filter still earns its place on bright horizon days.
Add step-up rings so one filter size fits every lens, a holder if you use square grads, and a cloth dedicated to glass. Cheap variable NDs are worth avoiding; they tend to produce uneven density across the frame.
Tripod, Bag and the Things That Break a Day
Carbon fibre is lighter, aluminium is cheaper, and either will hold a camera still. Spiked feet bite into rock and grass; rubber feet are better on wet boardwalk and smooth stone. A ballhead with a quick-release plate, plus a spare plate, saves fiddling in the cold. Pack the small hex keys that tighten your tripod, because a loose leg mid-exposure is a slow, quiet disaster.
For carrying everything, a waterproof hillwalking rucksack with a padded camera insert beats most camera bags in Scottish conditions. Rain covers flap in wind and soak through anyway. Add a microfibre towel, a bin bag for sitting on or wrapping the pack, and a dry bag for anything that must stay dry.
Clothing: Dress for Four Seasons Before Lunch
No cotton next to your skin. It holds water, chills you, and dries at roughly the speed of geology. Start with a synthetic or merino base layer, add a fleece or light synthetic mid layer, and finish with a proper waterproof shell, not showerproof: taped seams, and a hood that survives wind.
Waterproof over-trousers are non-negotiable from roughly October to May, and often in July. Boots with ankle support and decent tread, plus gaiters, save you from bog and heather seeds. Then two pairs of gloves, a thin liner and a waterproof outer, a warm hat, a buff, spare socks in a dry bag, sunglasses, and a head torch even if you plan to be back before dark. In midge season, roughly June to August, a head net weighs nothing and changes everything.
A word on burns: after heavy rain, a crossing that was easy on the way up can be impassable on the way back. If the water is above knee height, or moving fast, turn around.
The Printable Checklist
Copy this into a note on your phone, or print it and tape it inside a cupboard door. Tick each line as it goes into the bag.
- Camera: body, spare body if you have one, two to three batteries, two cards, blower, two lens cloths
- Lenses: wide, mid zoom, telephoto, plus hoods for each
- Filters: polariser, six-stop ND, ten-stop ND, soft grad, step-up rings, holder
- Support: tripod and head, quick-release plate, hex keys, microfibre towel
- Bag: waterproof rucksack, padded insert, dry bag, bin bag
- Clothing: base layer, mid layer, waterproof shell, waterproof trousers, boots, gaiters, hat, gloves ×2, spare socks, buff, sunglasses, head torch
- Midges and sun: head net, insect repellent, sun cream, lip balm
- Food and water: at least a litre, more in summer, a flask, and food you will actually eat
Photo: George Pak / Pexels